Intro
Recently, I made a Wifi-based Ir Remote with ESP8266-1 that controls my LeTv.
About ESP8266-01
ESP8266-01 is the cheapest and smallest MCU with Wifi module that I can afford which costs about 9 CNY (USD 1.5) in China. Here is some description from SparkFun:
The ESP8266 WiFi Module is a self contained SOC with integrated TCP/IP protocol stack that can give any microcontroller access to your WiFi network. The ESP8266 is capable of either hosting an application or offloading all Wi-Fi networking functions from another application processor. Each ESP8266 module comes pre-programmed with an AT command set firmware, meaning, you can simply hook this up to your Arduino device and get about as much WiFi-ability as a WiFi Shield offers (and that’s just out of the box)! The ESP8266 module is an extremely cost effective board with a huge, and ever growing, community.
Here are some pictures from the Internet:


Step 1: Gather Your Materials.
You will need the following:
- ESP8266-01 Module.
- Infrared LED(s).
- S8050 (Or other NPN Epitaxial Silicon Transistor).
- A resistor from 330 to 10k Ohm.
- IR Receiver such as the VS1838B (For learning).
- Some female du-pont connectors.
- USB to TTL Serial Cable(For program downloading).
- A 3.3v power supply(e.g.I use a AMS-1117 3.3).
- A breadboard.
- A PCB board for programing(ESP8266-01 is not breadboard friendly).
Step 2: Scheme and Wiring
ATTETION: YOU MUST USE 3.3V POWER SUPPLY! 5V WILL KILL YOUR DEVICE!
S8050, known as Q1 in the picture, plays a role like a switch that controls the LED1 to flash.
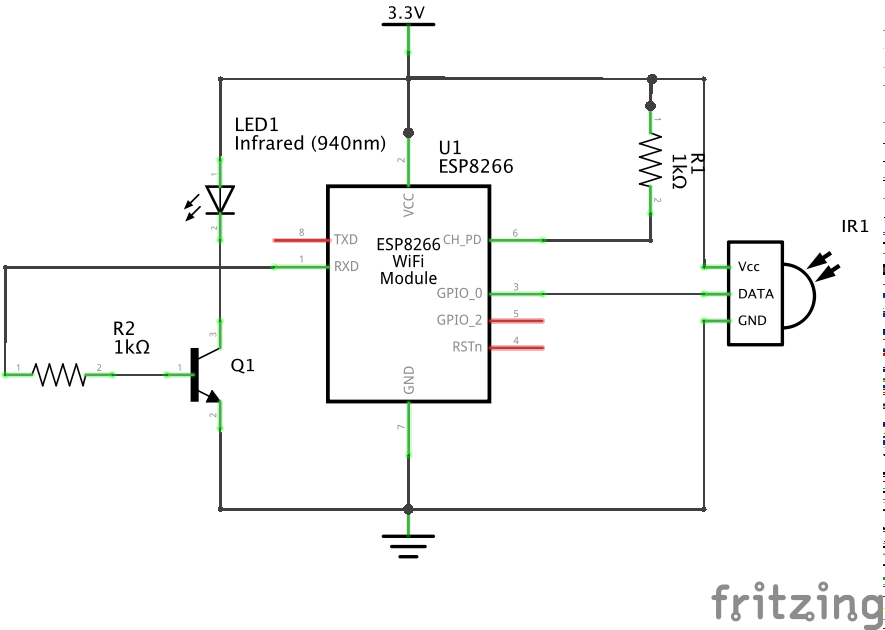
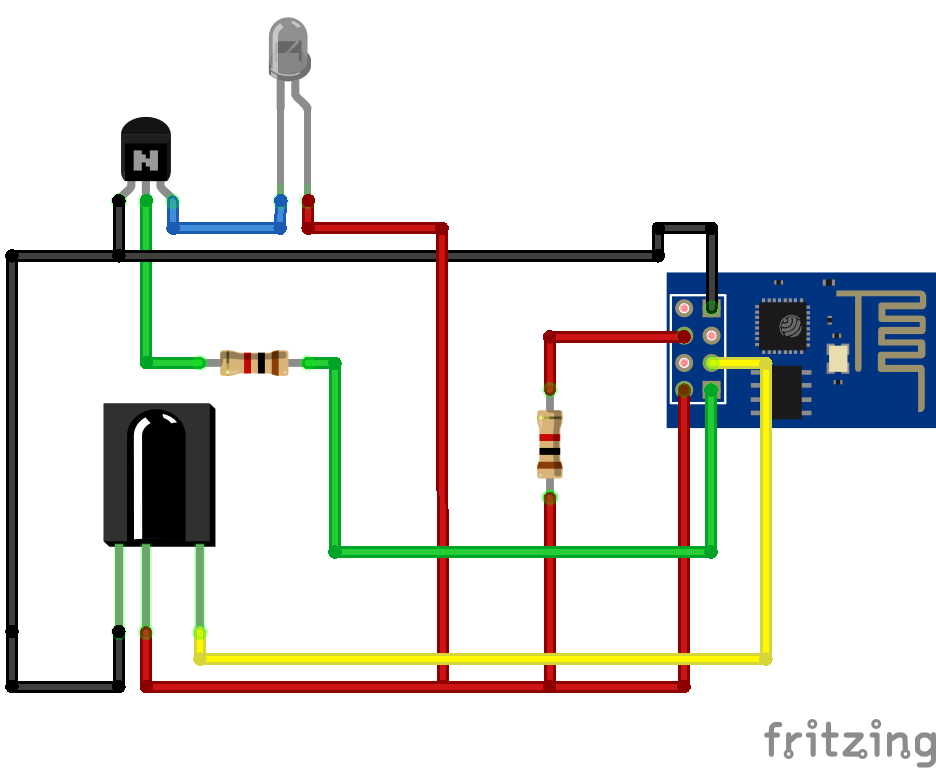
The red wire is VCC 3.3V while the black one is GND. The yellow, blue and green are signals.
Step 3: Software
The code is on my github. ESP8266IRRemote. I used some libraries, such as:
- WiFiManager, a magical wifi configuration tool.
- IRremoteESP8266, a tool to learn/send IR codes.
- ESP8266WebServer, a simple web server to handle our requests.
- esp8266IRServer, especially thanks to Daniel-t. He provides the main code. And I just changed a little.
- etc.
Step 4: How to use
- Change the host name, SSID, and wifi password at line 471/472(maybe).
WiFi.hostname(HOSTNAME); wifiManager.autoConnect(HOSTNAME, "1234567890"); -
Build and download to ESP8266 with serial cable.
-
Connect your phone or laptop to SSID named esp8266-ir with password 1234567890. And follow the guide to connect your ESP8266 to your wifi router. It looks like:


- Find out IP address by follow command. For example, my IP address is 192.168.100.18.
For Windows, Linux and MacOS:
arp -aOR for MacOS:
ping esp8266-ir.local -
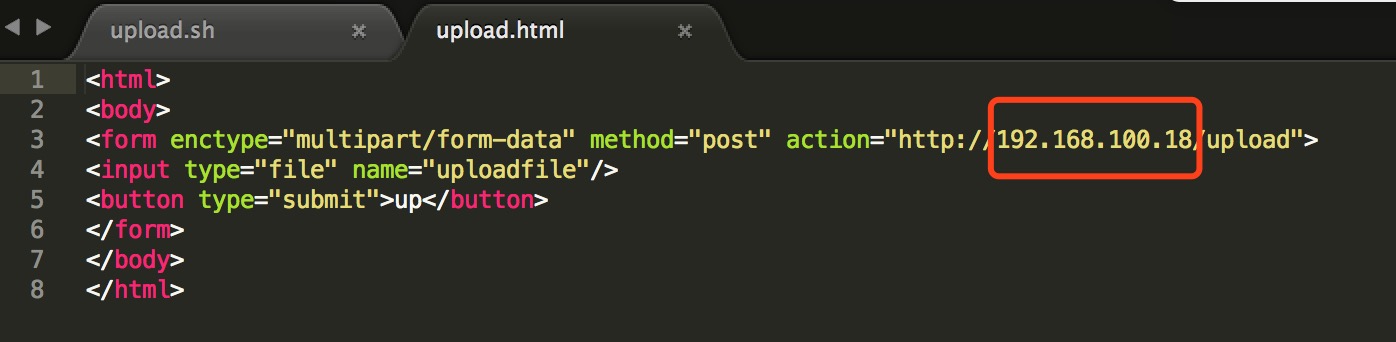
If you are Windows, modify IP address to yours in file /html/upload.html. Save and open this file in your web browser. And upload all files(success.html should be the first one to upload) in html dir EXCEPT upload.html and upload.sh.
- If you are MacOS or Linux, modify IP address to yours in file /html/upload.sh.
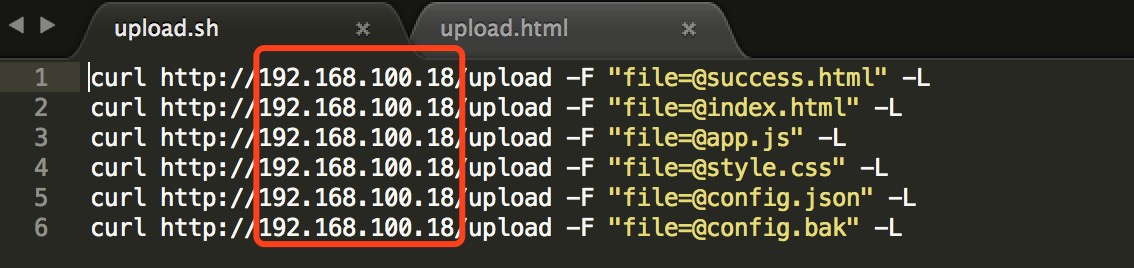 And run command in terminal
./upload.sh -
Open browser on your phone and access http://YOURIPADDRESS. For example, http://192.168.100.18 or http://esp8266-ir.local.
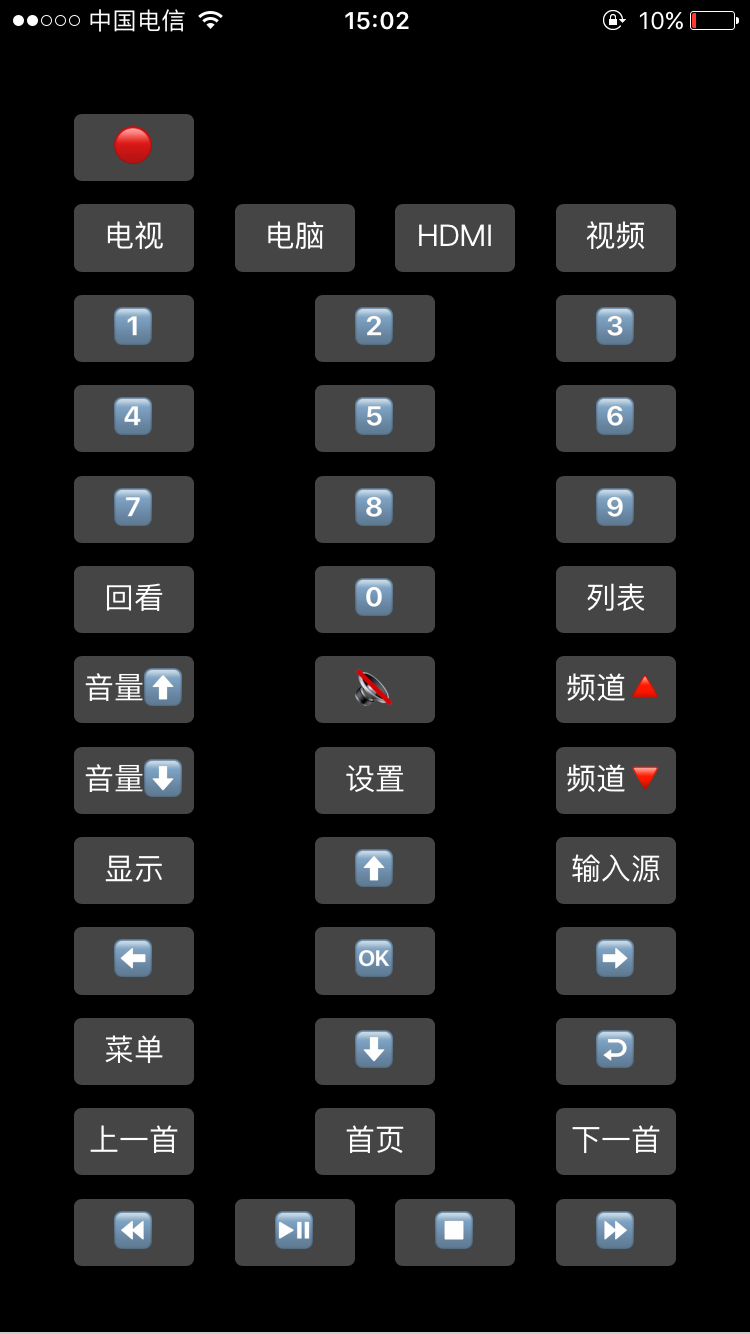
- OK, it’s working on my LeTV.
Step 5: Learn your IR remote CODE.
- Press any button on your remote controller, toward to ESP8266.
- Open your web browser and access http://YOURIPADDRESS/learn. For example, http://192.168.100.18/learn or http://esp8266-ir.local/learn.
- You will find your code, bits and protocal.
- Modify config.json to your code.
- Upload config.json to your ESP8266.
- Enjoy it.